How to Build an Email Marketing Funnel with MailerLite
8 min read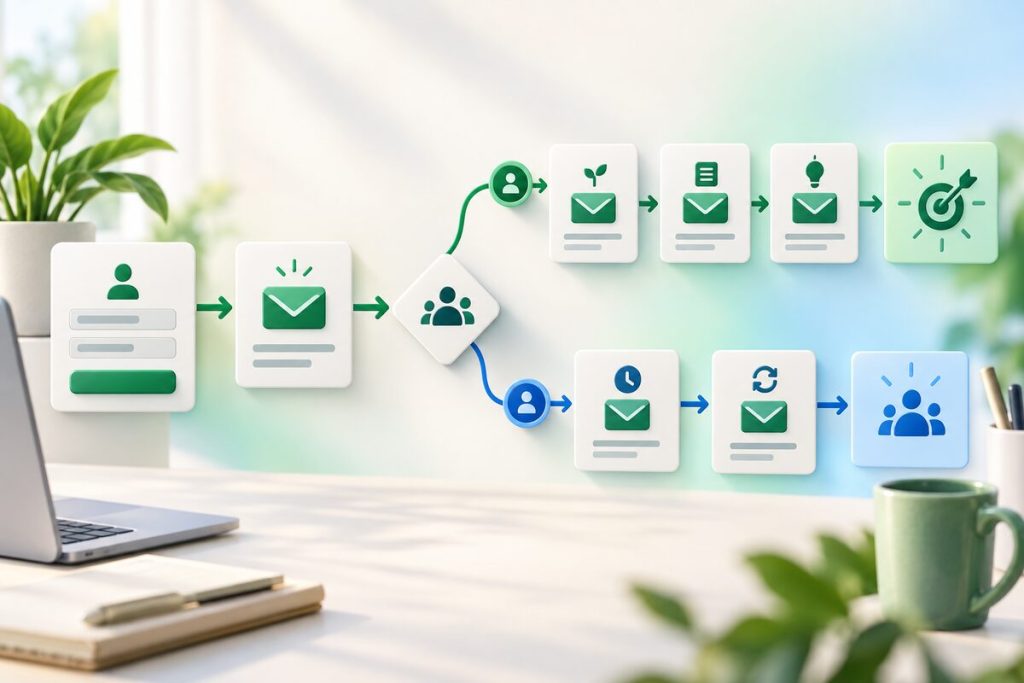
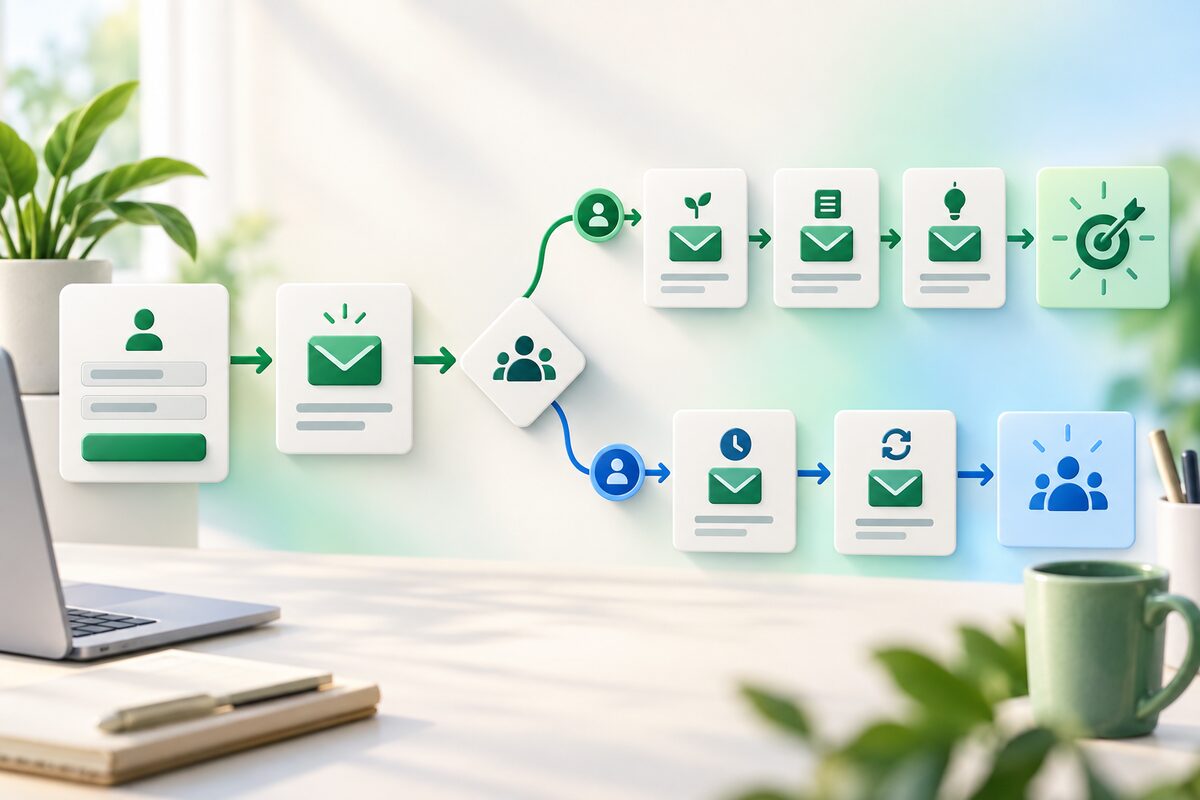
A visual workflow for building a MailerLite email marketing funnel.
Affiliate disclosure: This article contains an affiliate link. If you sign up for MailerLite through our link, we may earn a commission at no extra cost to you. The workflow below is educational and should be adapted to your offer, audience, consent requirements, and current MailerLite plan.
An email marketing funnel is not simply a form followed by a sales pitch. It is a sequence that gives a new subscriber a clear reason to join, delivers the promised value, builds trust, and presents the next relevant action at the right time. MailerLite can support that process with signup forms, landing pages, groups, segments, visual automations, campaigns, and reporting.
This guide explains how to use MailerLite to build a practical funnel from the first opt-in to a conversion-focused follow-up. The example is deliberately simple: a creator offers a useful checklist, sends a short welcome sequence, and invites subscribers to a paid consultation or product. You can adapt the same structure for a course, newsletter, service business, ecommerce offer, or event.
The funnel in one sentence: attract one clearly defined audience, exchange a useful resource for permission, deliver the resource promptly, teach through a short sequence, and make one relevant offer that can be measured.
Before you build: define the funnel promise
Start with the audience and the first desired outcome, not with an automation diagram. Write down four decisions:
- Audience: Who is the subscriber, and what problem are they actively trying to solve?
- Lead magnet: What useful checklist, guide, template, mini-course, or discount will they receive immediately?
- Primary offer: What should an engaged subscriber do next—book a call, buy a product, join a course, or read a deeper resource?
- Permission and expectations: What will you send, how often will you send it, and how can a subscriber unsubscribe?
A narrow promise improves every later step. “Get weekly marketing tips” is broad. “Receive a seven-day email launch checklist for a one-person business” tells the visitor exactly what they are signing up for and gives you a more relevant basis for the follow-up sequence.
Step 1: Create the audience structure in MailerLite
In MailerLite, decide how you will organize people before building the form. A practical structure is to create a group for the lead magnet—for example, Launch Checklist Subscribers—and use fields or segments for additional context such as business type, product interest, or engagement.
Groups can represent a source or permission path. Segments are better for rules that may change, such as subscribers who clicked a link, have not opened recent emails, or selected a particular interest. Avoid creating dozens of overlapping groups without a naming convention. Confusing audience structure is one of the fastest ways to send the wrong message to the right person.
Also decide which information is genuinely necessary. Asking for a first name may help personalization, but every extra field can reduce completion. Collect the minimum data required for the first step and ask for more context later when there is a clear reason.
Step 2: Build the signup form or landing page
Create a focused landing page or embedded form that matches the promise of the lead magnet. The page should answer three questions quickly:
- What will I receive?
- Why is it useful for my current problem?
- What happens after I submit my email?
Keep the form visually simple. Use one main call to action, explain the next step, and make the privacy or consent language understandable. If you are using a double opt-in process, tell visitors that they need to confirm their address before receiving the resource.
Connect the form to the correct MailerLite group. Then check the success state: does the subscriber see a confirmation message, reach a thank-you page, or receive a confirmation email? Test the form with a real internal address on both mobile and desktop before sending traffic.
Step 3: Deliver the lead magnet immediately
The first email should do exactly what the signup page promised. Use a recognizable sender name, a direct subject line, and one obvious link to the resource. Do not bury the download behind a long introduction.
This email is also the first opportunity to set expectations. Tell the subscriber what the next few emails will cover and how often they will arrive. A short explanation can reduce confusion and make later messages feel intentional rather than unexpected.
Use a real file link or a secure page for the resource. Check that it works without requiring the subscriber to request access manually. Broken delivery is a trust problem that no later copywriting can fully repair.
Step 4: Build the visual automation
Create an automation whose trigger is the subscriber joining the lead-magnet group or completing the relevant form. Add the actions in a sequence that is easy to read and test:
- Send the delivery email immediately.
- Wait one day.
- Send a teaching email that helps the subscriber use the resource.
- Wait two days.
- Send a case study, example, or common-mistakes email.
- Wait two days.
- Send the primary offer and explain who it is for.
Use conditions only when they improve relevance. For example, subscribers who click a product link can receive a more detailed comparison, while those who do not engage can receive a shorter reminder or a different educational angle. A branch should have a purpose; adding conditions just to make the workflow look advanced creates maintenance work without improving the subscriber experience.
Set an exit rule for people who convert. A customer should leave the pre-purchase sequence and enter the onboarding or customer education flow. This is one of the most important quality checks in any email funnel.
Step 5: Write a short nurture sequence
A good beginner sequence usually needs three to five messages. Each email should have one job and one main call to action.
| Job | Example angle | |
|---|---|---|
| Delivery | Keep the promise | Here is your checklist, plus one quick way to use it today. |
| Teaching | Create an early win | The first mistake people make when planning a launch. |
| Proof | Reduce uncertainty | A real workflow, before-and-after example, or common questions. |
| Offer | Invite the next step | Who the product or service is for, what it includes, and what to do next. |
| Follow-up | Help undecided readers | Answer an objection or point to the most useful next resource. |
Do not force every subscriber through the same pitch. If someone has already bought, booked, or clearly opted out of a topic, update their path. Relevance protects both the reader’s attention and the health of your list.
Step 6: Add tracking and test the entire path
Before activating the funnel, test it from the visitor’s point of view. Submit the form, confirm the address if required, open the delivery email, download the resource, click the links, and check the next messages. Test on a phone as well as a desktop.
Record a small set of metrics:
- Landing-page or form conversion rate
- Delivery and confirmation completion
- Clicks on the teaching and offer links
- Unsubscribes and spam complaints
- Bookings, purchases, or other completed actions
Open rates can provide directional information, but clicks and completed actions are usually closer to the business goal. Use consistent links and, where appropriate, tracking parameters so you can connect the email click with the destination analytics.
Step 7: Improve one part at a time
Once the funnel has enough traffic, change one meaningful variable at a time. You might test the landing-page promise, the subject line, the first paragraph, the offer placement, or the timing between messages. MailerLite’s testing and reporting features can support this process, but the quality of the experiment depends on keeping the comparison understandable.
If people join but do not click, review the relevance of the first email and the clarity of the call to action. If they click but do not buy, examine the landing page, offer, price, trust signals, and audience fit. If unsubscribes increase after a certain message, reconsider the expectation you set at signup or the frequency of the promotion.
Example: a funnel for a freelance designer
Imagine a freelance designer offering a free “Homepage Conversion Checklist.” The landing page promises a downloadable checklist. The form adds subscribers to a group called Homepage Checklist. The first email delivers the PDF. The second email explains how to find the highest-impact homepage issue. The third email shows a before-and-after example. The fourth email invites the subscriber to book a paid homepage audit.
People who book the audit leave the promotional automation and enter a client-preparation sequence. People who click the audit link but do not book receive a short FAQ email. People who never click receive one additional educational email instead of repeated sales messages. This is a small funnel, but it is specific, testable, and easier to maintain than a generic “send everything to everyone” list.
Common MailerLite funnel mistakes
- Starting with too many branches: Build the basic journey first and add conditions when the data shows a need.
- Promising one thing and sending another: Match the landing page, lead magnet, and welcome email.
- Forgetting existing customers: Add exit conditions so buyers do not continue receiving pre-purchase messages.
- Skipping deliverability basics: Authenticate the sending domain, use permission-based lists, and remove invalid or disengaged addresses responsibly.
- Measuring only opens: Track clicks and completed actions that reflect the purpose of the funnel.
- Writing a sequence with no editorial plan: Decide the job of every message before you draft it.
Final checklist
Before sending traffic to the funnel, verify that the form is connected to the intended group, the confirmation process works, the lead magnet link opens, the automation trigger fires once, the timing is correct, the offer page works, and the unsubscribe link is present. Then send a few test subscribers through the complete journey.
Start building your MailerLite funnel with one audience, one lead magnet, and one measurable next step.
Frequently asked questions
How do I use MailerLite for a welcome sequence?
Create a signup form or landing page, connect it to a group, then create an automation triggered by a subscriber joining that group. Add the delivery email first, followed by timed educational and follow-up messages.
Should I use groups or segments in MailerLite?
Use groups for clear sources or workflows, such as a specific lead magnet. Use segments for changing rules based on subscriber fields or behavior. A simple naming system is easier to maintain than many overlapping groups.
How many emails should an email funnel contain?
There is no universal number, but three to five emails is a practical starting point for a lead-magnet funnel. Add messages only when they serve a clear purpose and respect the expectation set at signup.
Can MailerLite send a lead magnet automatically?
Yes. A MailerLite automation can send a delivery email after the subscriber joins the intended group or completes the form. Test the link and the confirmation path before promoting the page.
What should I measure?
Start with form conversion, delivery completion, clicks, unsubscribes, and the final action such as a booking or purchase. Use opens as directional context rather than the only measure of success.
Official resources
Last checked: September 2026. Interface labels and plan limits can change; confirm current details inside your MailerLite account.